I'm not introducing anything new to the world here, since the internet is already plentiful with foam stamp projects, but I tried making some yesterday and it was awesome! This was my process:
1. I bought wooden cubes, sticky-back foam and non-adhesive foam. everything you see here totals less than five dollars.
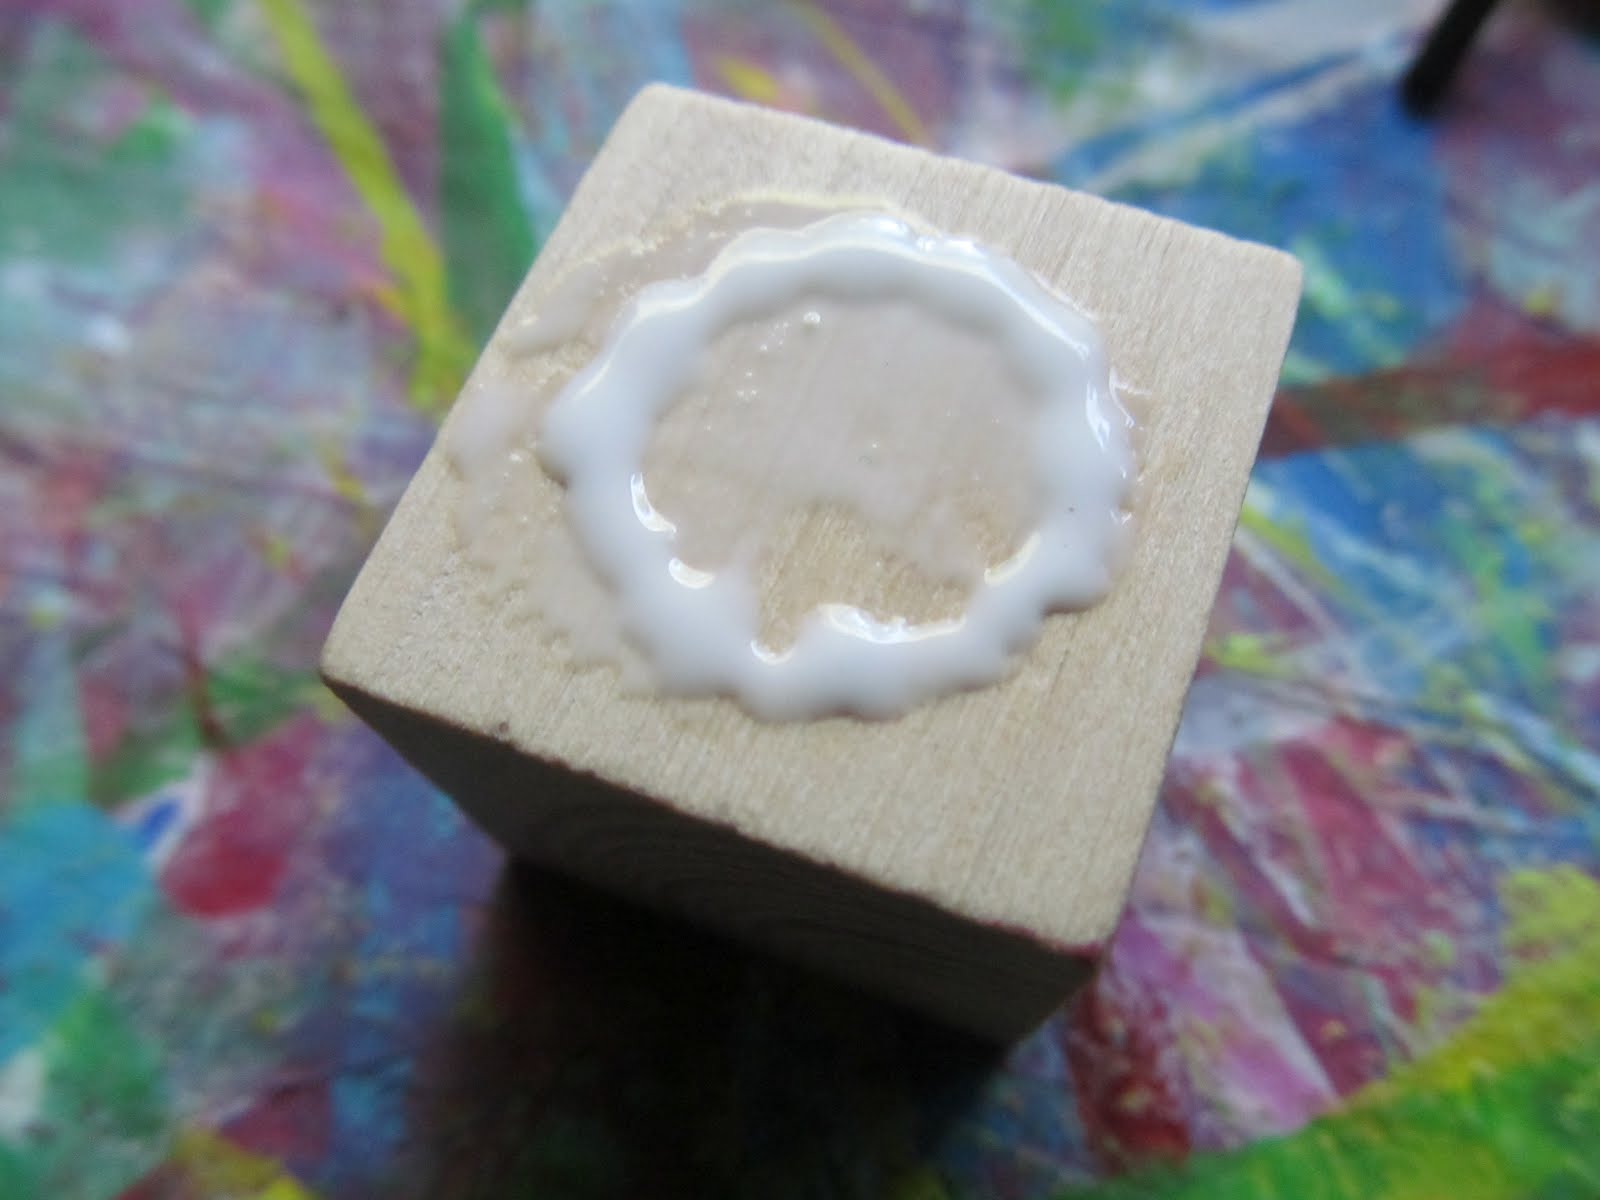
3. I tried some more stamps with the regular (non-adhesive) foam. I started on some letters, figuring that working with the regular foam could make it easy to think backwards - all I would need to do is cut out a letter, then glue the up-side. It worked! Regular white glue worked just fine, and quickly.
4. I had so much fun just cutting out simple shapes and stripes. I love the patterns they make when the stamp is turned or printed in a line.
I think this would be a perfect rainy-day craft for any kids who can operate scissors. It's inexpensive, results are almost immediate, and has the potential for not a lot of clean-up. You could even double up on images and add foam to multiple sides of the cube. And, the stamps can be used over and over again!
I can't wait to integrate these into more projects. Be on the lookout!
My favorite photo from this experience is above...a balloon popped as I was taking this picture - it was purely unintentional!!!
I spent New Year's 2002 in Houston, travelling by minivan with my Mom, sister, and my sister's two kids. That week, and pretty much the entire road trip home, we watched The Princess Diaries - over and over and over, something like nineteen times. Halfway through the road trip back to Indiana, it just became a game of knowing all the dialogue. And then seven-year-old Katie and I loved this scene:
It was sometime way back then, that I told her we would make a balloon dart painting, too...at her high school graduation party. So we did.
We practiced the weekend before, thinking you could just put pour acrylic paint into water balloons and then tie them and be ready. It isn't that easy, the paint just thickly drips out and fills the balloon without stretching at all. After failing multiple times and turning parts of her yard blue with paint, Katie found a blog that mentioned using a pressurized bottle and watering down the paint. I wish I could find this blog, because I want to credit it - that advice was so helpful! We went out and bought six Ice Mountain water bottles with sport caps, and then I diluted the paint to about 50% paint, 50% water.
On the day of the event, we made sure all the balloons were stretched. She poured paint, then I tied balloons. We made the balloons small, about 2-3 inches, and mostly full of paint. It was a great system! The process of setting up was so, so messy. Paint was everywhere! I would definitely advise that all balloon filling should take place outside, unless you're some kind of expert balloon tier. Some of the balloons were just a little too full and splattered all over me! It was comedic at that point.
I brought string to tie to each knot, then individually duct taped each string to the back of the canvas, so the string hung over the top. Then, whenever a balloon would pop, we could just pull the string to the back, to minimize mess and the risk that balloon pieces would dry on the canvas in the sun.
The backyard setup was simple. We folded a piece of burlap over the fence, taping it around the fence loops with more duct tape, because it was windy outside. We put two paper ream boxes on the ground, and covered them with plastic tablecloths from the dollar store, which made excellent tarps. The canvas sat on top of the boxes, but It was also duct taped around the fence loops from behind, so the wind wouldn't move it.
The day of Katie's party was warm. Ninety-three degrees. What I learned while I was still setting up is that a water balloon resting on a black canvas surface in the hot sun will pop all on its own. No darts necessary!
Many of the balloons stayed intact in time for her friends to arrive. They had a great time throwing darts and watching the colors flow! We used a pack of three cheap metal darts. We also coiled neon chenille stems around the bases, because otherwise, we may have lost them in the grass.
The finished product turned out awesome. We were so happy with it! It's going to make an incredible addition to Katie's dorm room this fall!
during spring break this year, i went to work twice. on the other days i did fun things like: sort paints! this wasn't fun for me, but i have a new understanding of how much of a craft stash i have created. it's a bit overwhelming and makes me want to paint a lot.
i took a brief trip to cincinnati to visit the jorgensons. i had a whirlwind day of shopping with jenni and aven. after breakfast at ikea, we went to jungle jim's (always a favorite), met simon for lunch at a delicious middle eastern restaurant, went to some nice local shops, and finished at crate and barrel and the container store.
at ikea, aven immediately claimed this adorable broccoli stalk friend. she carried it all through jungle jim's!
when i returned, jenni and i quickly made this tree decoration for aven's wall from ikea cork placemats and coasters:
the next day, i met jenny, heather n., and shellie at you are the potter and underestimated how long it would take to paint this: i haven't picked it up yet, and i think that the pastel pre-kiln paint color hides what are certain to be flaws from rushing the process. but it was good to go there again.
almost a week has passed since spring break, and now my thoughts are focused again on work: getting ready to move into a new office, taking some students to bloomington tomorrow to watch their guitar teacher perform, and many other activities that will make the next few weeks seem to pass so quickly.
last month, i spent an afternoon and evening crafting with amy, jenni, heather and val. we have all been friends for at least fifteen years, and rarely, rarely are we all in the same place at the same time.
we planned a few weeks in advance to spend an afternoon together while making christmas garlands. it was quite a crafty scene-the table was covered in felt, ribbons, adhesives, scissors, glue guns (jenni has a serious glue gun), more felt, and even more felt. although the intention was for each of us to make two items for each garland, it didn't necessarily turn out that way. there were four daughters toddling around, being cute and deserving everyone's attention. there was a visit from amy's sister and her baby twins! there was pizza to be picked up in the rain. not everyone was motivated to be crafty at the same pace, or at all. there was a lot happening and a lot to catch up on! still, it was a fun activity for a rainy afternoon. it was inexpensive...didn't need to be perfect or require a lot of concentration...leisurely. perfect for all of us! after taking the photo above, we realized we needed to add a few more embellishments.
most of the way through the night i had pain in my ankle so severe that i couldn't even stand at the counter to glue anything. i spent the remainder of the evening with my foot propped up and an ice pack. it really hurt! it turned out that i had tendinitis, and i'm better now.
jenni finished her garland first. she and aven are checking it out here: (i may or may not have finished mine at all. i'll let you decide from the photos. but i certainly enjoyed all of the cutting, gluing, laughter and friends it took to create it.)
My friend Jenny is going to have her third baby any day now. Her shower was held in January, where I put together a station where guests could choose beads and charms to add to a bracelet.
Each guest would choose a bead or charm, and write a message to Jenny to correspond with it. Those messages would be compiled into a little book.
I thought I would be able to assemble the bracelet and the book while Jenny opened her presents, but that didn't happen. Instead, I finished it this weekend, late for sure, but still before the birth of Number Three.
It was my first experience with memory wire, which I thought would be easy. It took several attempts at securing the end caps with e-6000 - more than I expected. Does anyone have a better way to make this work? I do really like using the memory wire. Some tips: you will need a diagonal cutting tool, and if one of the beads is a bit too long and straight to string onto the curvy wire, it can become a lovely shamrock-shaped end cap.
Along with the bracelet, the messages were assembled and tied together with ribbon:
This week, I had a very important appointment with a fourth grader. We planned an art project.
I wish I would have taken photos along the way, but it's probably self-explanatory enough: Materials Used: An old canvas - which I had started a painting on four years or so ago, and never finished. Dark acrylic paint to cover the old painting up (gesso would have worked, too) Tissue paper Paper punches (and Vellum...because a lot of paper punches don't work on tissue paper, but they'll work with tissue paper and a layer of vellum) Nice, smooth brushes.The cheapy kind doesn't work as well for decoupage. Mod Podge. I used Matte. Gloss would work, too, but Matte is glossy enough, I think. A friend used Brushstroke Matte Mod Podge the next day for a similar project, and was disappointed. 1. After waiting for the cover layer of navy blue acrylic to dry, we attempted to punch out shapes. My original idea was overlapping circles, but paper punching tissue paper proved to be too daunting a task. We did discover that a layer of vellum in the punch, along with the tissue paper, had a nicer result, but it was more fun to cut squares and triangles.
2. Place the tissue paper where you want it to land, and paint the Mod Podge on TOP of the tissue paper, from the center out. It will soak through to the point where it blends in flat with the canvas. When the fourth grader discovered this, it was like MAGIC before her eyes.
3. Overlap frequently...with a variety of colors or the same color.
4. YOU CANNOT DO THIS WRONG. If the paper twists or bends, you can either throw it out or run with it and allow your project to have texture. I told the fourth grader that she was the Art Director on this project and all creative decisions were hers. So, she used a gold marker to accent some of the pieces - for example, adding facets to a shape that looked "like a ruby". You can do whatever you want!
5. Wait patiently for the project to dry. When I returned to work the next day and noticed that we'd left some spaces open to the navy blue canvas, I knew that I could go over it again with some more tissue paper and Mod Podge another time.
I hung it in my office, which may not be its permanent home. This is probably the simplest, most relaxing, therapeutic project I know. Some adults helped, too...and were mesmerized. Also, there are so many possiblities and variations - I recommend this as a lazy day summer project for anyone.