

Most of my rings start out as a 3/4 inch roundhead plug. Why else would anyone use these? I buy them in the wooden craft section at Michael's. Other craft stores have similar pieces, but I think these are just about perfect.
They aren't perfect, though. Most of them require sanding. Sometimes the wood grain is coarse. Sometimes the shaping of the plug makes some really evident circles on the surface. Sometimes the plugs are too damaged, and not usable for ring making, but that doesn't happen very often. I've learned to check the packages carefully before I buy them.

For most rings, I choose one color as a base coat. I tend to choose darker colors, but I'm becoming more brave. Lighter colors take many more coats and are less forgiving of mistakes. I've become more careful in the process so now I'm more open to using lighter colors as a base. I still prefer darker colors, because I love the way other colors stand out!

The best part is painting the designs on the ring. This is where I get really creative - it's my favorite part of the process!

After the design dries, I coat the underside of the wooden piece with matte Mod Podge. I'm really happy with the result of using Mod Podge as a varnish. Maybe someday I'll find something I like more, but until then, I am stocked in matte Mod Podge and intend to keep using it.
I often work on several rings at once, and I use acrylic paint bottles to hold the wood pieces as they dry. That way, I don't lose them among other projects, and they don't get knicked or touched by accident.

When the Mod Podge dries, I use e-6000 glue to affix the ring base. Ring bases aren't sold at many big box craft stores, and I really can't figure out why. They should be! I buy mine on Etsy.
The ring sits upside down on a paint bottle until the e-6000 sets. I haven't timed it, but I usually do something else for a few hours and then come back to the rings.
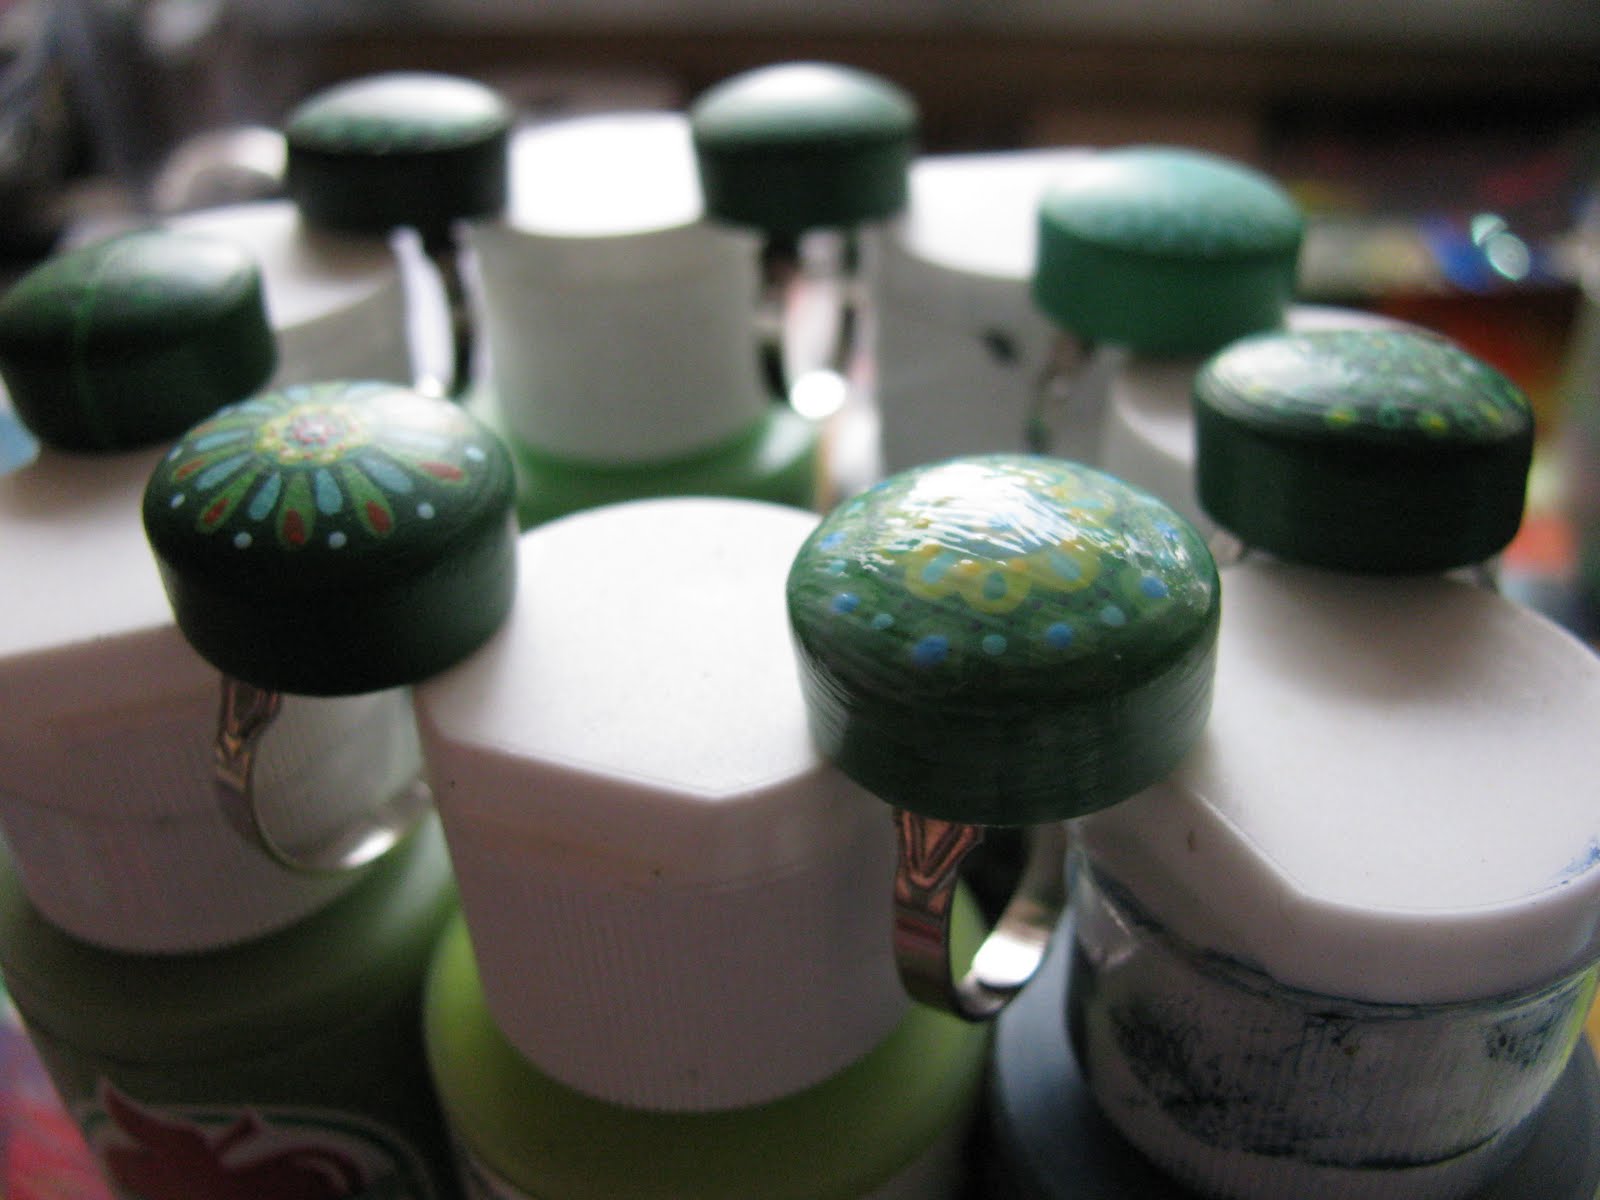
I hold each ring by its base when I varnish the top and sides with more matte Mod Podge. Then I carefully place the ring between two bottle caps. This is the real process - I don't have any cool drying racks or anything. Just bottles.
Two coats usually works best. Several hours of drying time in between coats works best, too.

That's the whole process! It is so much fun - I never get tired of making rings. And now that any potential mysteries are debunked, it's time to work on listing all of these green rings!
1 comment:
Beautiful!
And, all those green rings just in time for St. Patty's day!
Post a Comment